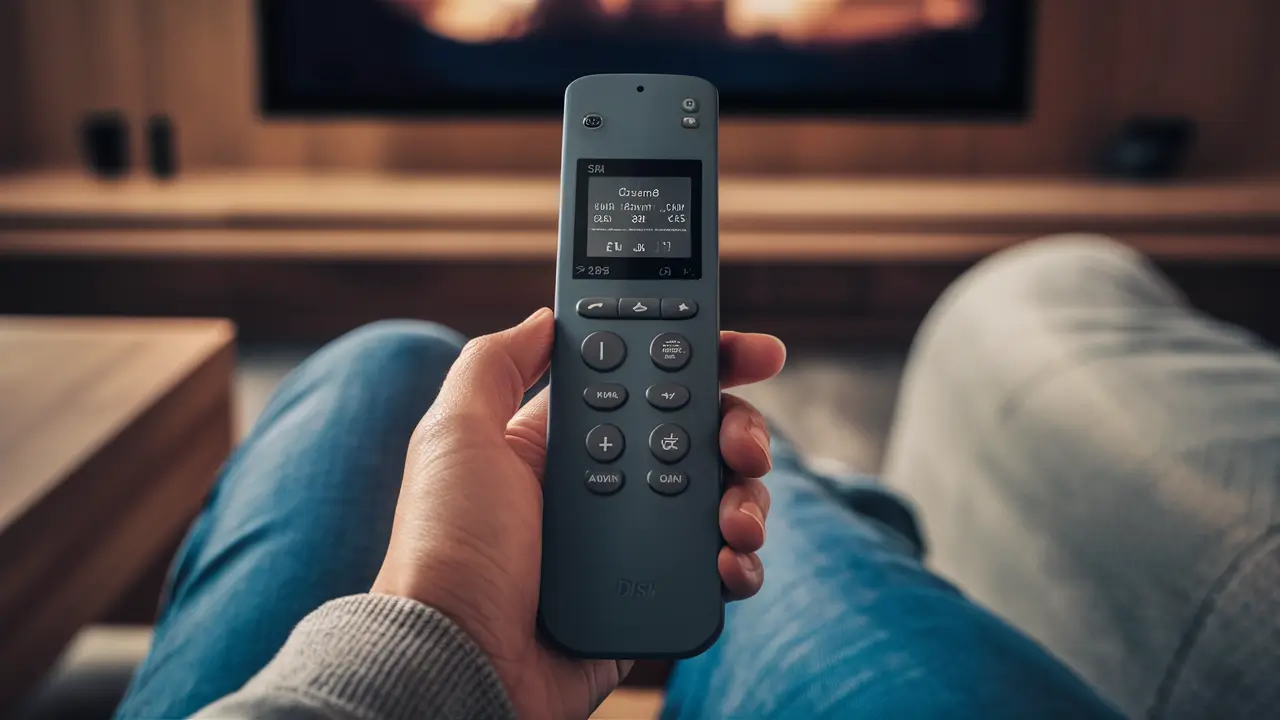
Dish Network remotes contain numerous buttons, and they can appear quite perplexing at first glance, but in reality, they are extremely simple to operate once one knows what each button is intended for. The following is a guide that explains how to program and use most of the buttons on a Dish Network remote control.
Getting Started
To use your Dish remote, your Dish receiver must be on first. The receiver can be an independent device or a part of your Dish TV set. After booting up, the receiver will show the Dish logo on the screen.
Next, switch on your TV and ensure it is tuned to the right input channel for your Dish receiver to be connected. This is often indicated as “Input” or “Source” on your television’s remote control. Some common input names are HDMI 1, HDMI 2, Component, Video, etc.
If you cannot get a picture from the receiver, ensure that all cables used in connecting the devices are well connected. It is advisable to refer to your equipment’s instructions to achieve the correct setup.
Basic Remote Functions
- Power Button: Switches on and off your television. Note that this will not always turn your Dish receiver on or off, but it will do the trick in most circumstances.
- Guide Button: Invokes the Dish on-screen program guide. This shows all the channels and shows available according to your package on Dish. From this guide, you can navigate through the various shows and even set your recordings.
- Info Button: Tells the name of the program you are watching at the moment, the description, and other information that may be necessary.
- Page Up/Down: The guide can be scrolled up or down one page at a time when it is on the television screen.
- Arrow Buttons: Goes through menu options displayed on the screen. Scrolls the highlight bar to choose shows, options on the menu, and so on.
- Select Button: Submits the highlighted item or a selected choice from the menu.
- Back Button: Returns to the previous screen or menu.
- Number Buttons: Switches the channel by inputting the correct channel number.
- Dash Button: Utilize multiple numbers to input a digital sub-channel. For example, 18-4.
- Last Button: Takes you back to the last channel that you were watching.
- Volume Buttons: An action that raises or lowers the volume of the audio either using buttons on the device, the mouse, or the keyboard.
- Mute Button: Pauses and continues the sound.
Changing Channels
To change channels with your Dish Network remote, you have a few options:
- Channel Up/Down - Using the Ch Up or Ch Dwn buttons means that the television will change channels sequentially in ascending/descending order.
- Number Entry – Press the number buttons followed by Select to enter a certain channel number. For digital sub-channels, use the Dash button between the main number and the sub-channel.
- Guide – Locate channel and program listings on the screen guide. To select the channel, show, or time you want to watch use the arrow buttons and press the Select button.
- Search – It enables one to search for shows using their names and can be accessed from the search results.
Controlling TV Devices
Aside from handling the Dish Network receiver, your Dish also can manage your TV or home theater equipment that is connected through HDMI for basic commands.
The Dish remote can be programmed to turn on your devices, change volume, and switch between inputs. Follow the steps below:
- Switch on the device you want to control i. e. Television, sound system, etc.
- For the Dish remote, Power/Input + Mute
- The Power or Input button will flash twice
- The second thing is to input the first 4-digit code listed according to your device brand from the Dish code list
- Check if the Dish remote now functions to power, adjust the volume, and select inputs on the device
- If no match is found, go back to steps 2 through step 5 for each device code mentioned above.
After programming, one can use all suitable buttons from the Dish remote to also manage the connected equipment apart from the Dish receiver. This gives you one-button control of your entire home entertainment system!
Recording Programs
One advantage of Dish Network is that it allows users to record live shows to watch them at a later time via DVR.
To schedule recordings on your Dish DVR:
- Press the Guide button and scroll to the program time of the show you want to program.
- Press the Select button and highlight the show title.
- Select either “Record Episode” or “Record Series” from the main choices.
- Finally, verify or modify the recording parameters concerning the start and stop of the recording and the DVR folder to save it.
- Press the Select button on the “Record” field to set the recording time.
All the recordings can be viewed in the My Recordings option that is available on the main screen. To watch, you just have to choose the DVR recording you want to watch, and then press play. Other options include manual recording, setting a Series Link for recording an entire season, post-concert recording, and many others.
Accessing On-Demand Content
Dish On-Demand is a service that has a vast database of movies and TV shows that you can watch in your own free time with the help of your satellite subscription.
To access Dish On-Demand:
- To access the on-demand programs, press the On-Demand button on your Dish remote. This triggers the Dish On-Demand menu.
- If one wants a particular title or is searching under a general heading, he or she can either look at the categories or type in a keyword.
- When you are on the title you want, highlight it and press the select button.
- Select Watch Now or Record Show.
- Titles will start streaming at once. Recordings will be saved in My Recordings in your DVR.
- Control playback using words such as Play, Pause, Rewind, Fast forward, etc in the same way as if you are watching a recorded program on a DVR.
On-demand is perfect for finding new movies in theaters, watching new seasons of shows, or just watching a series from episode one until the most recent episode!
Troubleshooting the Dish Remote
If your Dish remote stops working properly, try these troubleshooting tips before contacting Dish for service:
- Make sure that new batteries are correctly inserted according to the diagram located inside the battery compartment. Replace dead batteries.
- Apply slight pressure to the battery contacts if they seem loose.
- Position the Point remote towards the Dish receiver with the pointer pointing at the Dish receiver at a distance of approximately 5-7 feet. Ensure that there are no barriers to sight.
- To re-sync the remote to the receiver, press the Sat button and enter the remote address shown on the TV screen.
- It is recommended to relocate the Dish receiver from other electronics or appliances that may interfere with the signals.
For any other remote issues, the Dish Network customer service is reachable at all times through the phone for help with troubleshooting. They can tell you if your remote needs to be replaced or if some box-setting alterations need to be made to get it back to normal.
By the end of this Dish remote user guide, you will be able to navigate through the channels, guides, on-demand libraries, and DVR recordings with ease. What one has to know is what core buttons do and how the components of the system are connected. All in all, Dish remotes are quite easy-to-learn user-operated systems that offer a world of home entertainment.
Ready to upgrade your TV experience? Call us now at (877) 471-4808 to find the perfect Dish Network plan for you! Don’t miss out on great entertainment—our team is here to help you choose the best package and get you started today.
