-
Posted on: 07 Jan 2026
-
Considering a DIY satellite TV installation? This guide comprehensively explores whether you can install your own satellite for TV, detailing the process, potential challenges, and cost-effectiveness. We'll equip you with the knowledge to make an informed decision for your home entertainment setup.
Understanding Satellite TV Installation
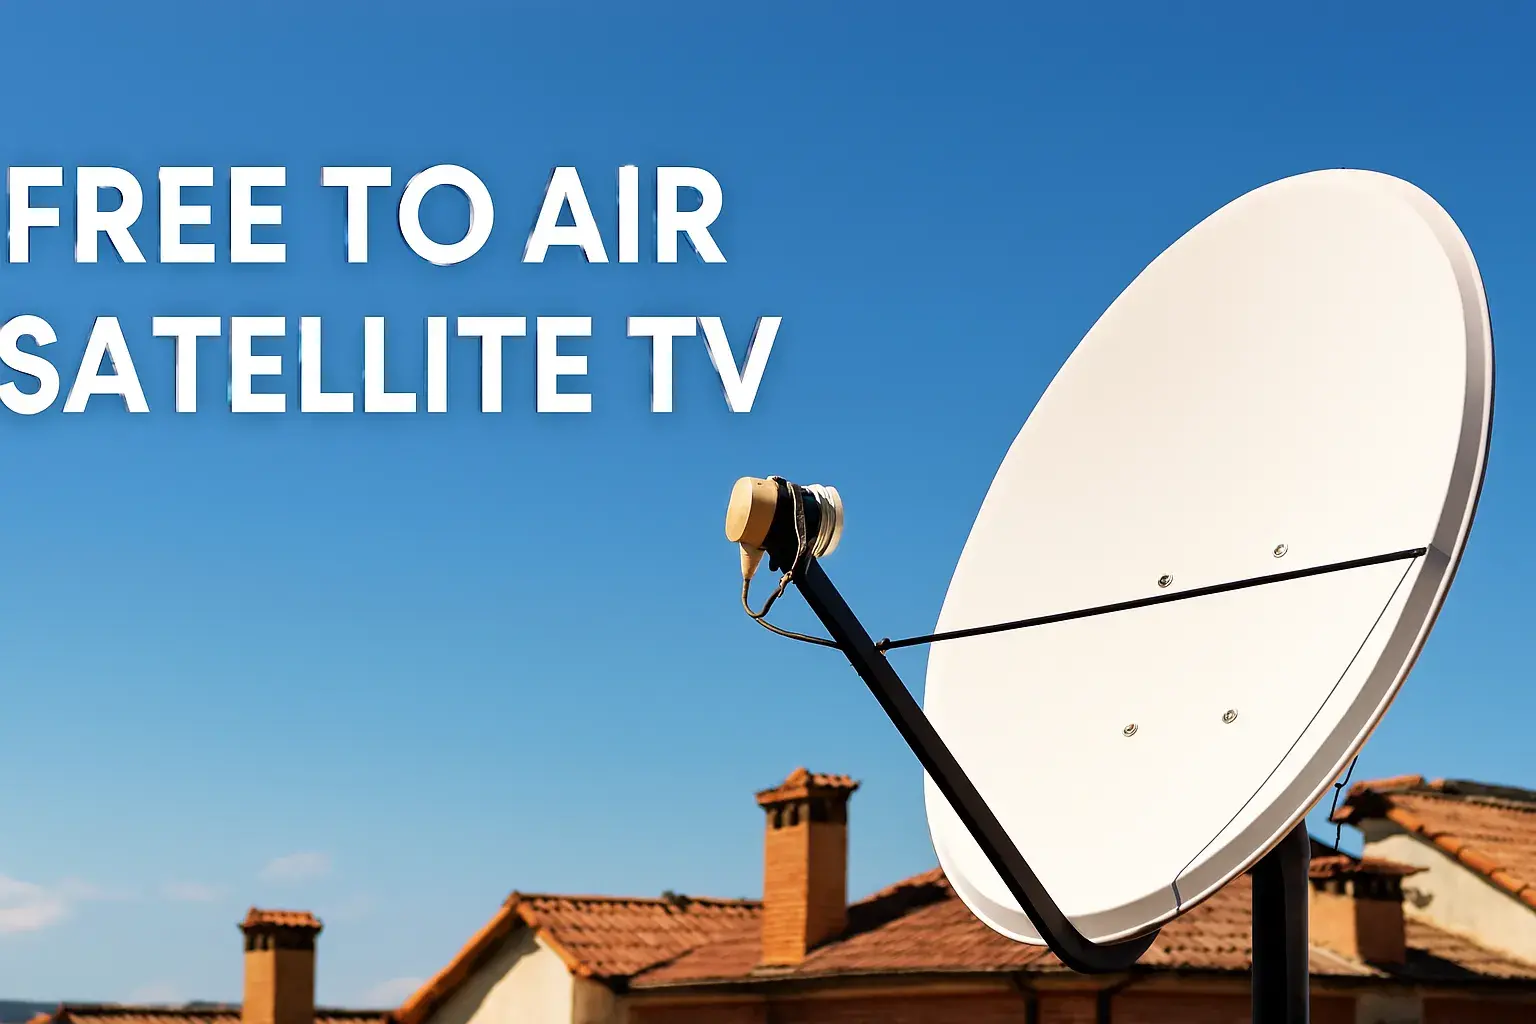
Satellite television systems have long been a popular choice for delivering a wide array of channels to homes, especially in areas where traditional cable infrastructure is limited or unavailable. At its core, a satellite TV system involves a dish antenna mounted on the exterior of your home, which communicates with a satellite orbiting Earth. This satellite relays signals from a broadcasting center to your dish. The signal is then processed by a receiver (set-top box) inside your home, which decodes it and displays it on your television. The entire process relies on precise alignment and robust connections.
The components of a typical satellite TV system include:
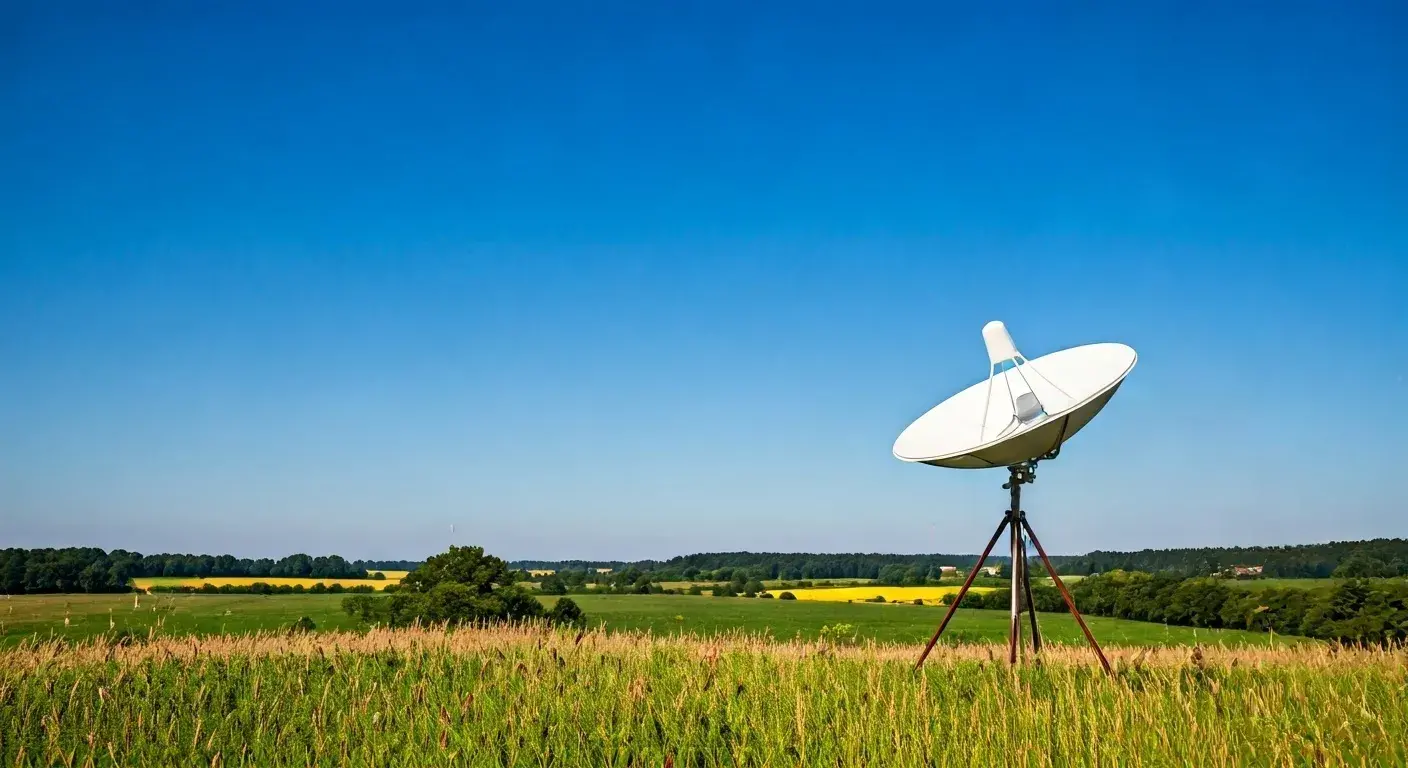
- Satellite Dish: This is the most visible part, a parabolic reflector designed to capture and focus satellite signals. Its size and type can vary depending on the service provider and the satellite being used.
- LNB (Low-Noise Block downconverter): Mounted on the dish arm, this device receives the faint signals from the satellite and amplifies them while converting them to a lower frequency that can travel through the coaxial cable.
- Coaxial Cable: This specialized cable connects the LNB to the satellite receiver inside your home, carrying the processed signal.
- Satellite Receiver (Set-Top Box): This device connects to your TV and the coaxial cable. It decodes the digital signal, manages your channel subscriptions, and often provides features like program guides and recording capabilities.
- Mounting Hardware: This includes brackets, poles, and fasteners used to securely attach the satellite dish to a stable surface like a wall, roof, or ground mount.
The installation process itself involves several critical steps. First, a suitable location for the dish must be identified, one that has a clear, unobstructed view of the southern sky (in the Northern Hemisphere) where the geostationary satellites are located. Then, the dish must be precisely aimed at the correct satellite, a process requiring accuracy measured in fractions of a degree. Finally, the receiver must be connected and activated by the service provider.
Understanding these fundamental components and processes is crucial before even contemplating a do-it-yourself installation. It highlights the technical precision required, which often leads potential DIYers to question their own capabilities and the feasibility of undertaking such a project without professional guidance.
Can You Really Install It Yourself?
The short answer to "Can I install my own satellite for TV?" is yes, technically, you can. Many individuals successfully install their own satellite dishes. However, the more pertinent question is, should you? This depends heavily on your technical aptitude, comfort with heights, available tools, patience, and the specific requirements of your chosen satellite provider.
Satellite installation is not as simple as plugging in a cable box. It involves working with potentially sensitive equipment, ensuring precise alignment, and often working at heights. While many providers offer self-installation kits, they come with a caveat: the responsibility for correct setup and signal acquisition falls entirely on you. If you encounter issues, you might still need to call a professional, potentially incurring additional costs.
Several factors influence whether a DIY installation is a viable option for you:
- Technical Skill: Do you have experience with tools, basic electrical wiring, and troubleshooting? Can you follow complex instructions accurately?
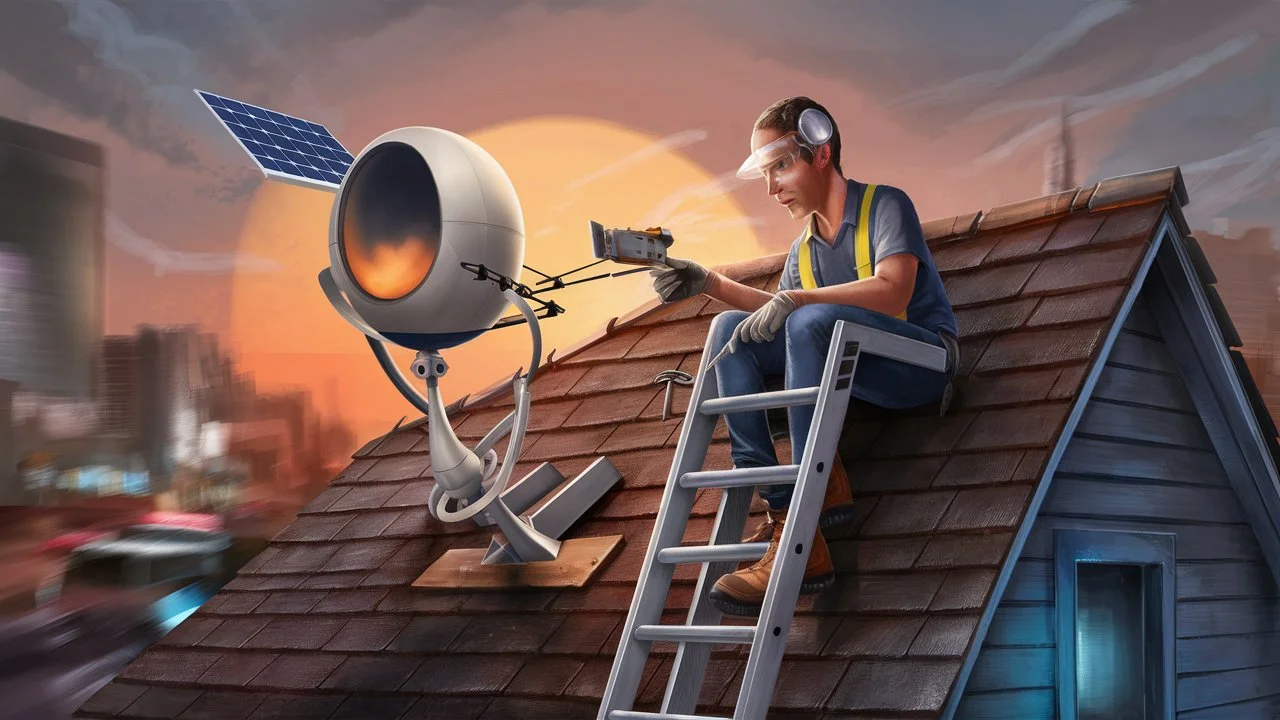
- Comfort with Heights: Satellite dishes are typically mounted on roofs or high walls. If you are uncomfortable or unable to safely work at heights, a DIY installation is not recommended.
- Tools and Equipment: Beyond basic tools, you'll need specialized equipment like a satellite finder meter or a signal meter app, a compass, a level, and potentially a drill for mounting.
- Provider Policies: Some satellite TV providers, like Dish Network and DirecTV, strongly encourage or even mandate professional installation for new activations, especially for advanced packages or certain equipment. Others might offer self-installation kits for simpler setups. It's crucial to check your provider's specific policy.
- Clear Line of Sight: You need an unobstructed view of the sky in the direction of the satellite. Trees, buildings, or other obstructions can prevent signal reception. Identifying this clear path is a key part of the installation.
For those who are technically inclined, confident working at heights, and have the necessary tools, a DIY installation can be a rewarding way to save money. However, it's essential to go into it with realistic expectations. The process can be frustrating, time-consuming, and may not result in optimal performance if not done correctly. For many, the peace of mind and guaranteed performance offered by a professional installation outweigh the potential cost savings of a DIY approach.
Provider-Specific Considerations
The ability and ease of self-installation vary significantly between satellite TV providers. As of 2025-26, major providers have different approaches:
- Dish Network: Historically, Dish has been more amenable to DIY installations for certain packages, offering self-installation kits. However, for new customer activations and complex setups, they often prefer or require professional installation to ensure optimal service from the outset. Their website and customer service are the best resources for current policies.
- DirecTV (now part of AT&T, though operations are distinct): DirecTV has traditionally leaned heavily on professional installations. While some basic setups might theoretically be DIY-able, they generally recommend and often mandate professional installation to ensure proper alignment and system activation, especially for their premium services.
- Smaller/Regional Providers: Smaller satellite internet or TV providers might have more flexible policies, sometimes offering more robust support for DIY installations or providing detailed guides and tools.
Before purchasing any equipment or attempting an installation, always consult the specific terms and conditions and installation guides provided by your chosen satellite TV provider. They will outline their requirements, recommendations, and the availability of self-installation kits.
Benefits of DIY Installation
Despite the challenges, there are compelling reasons why someone might choose to install their own satellite dish:
- Cost Savings: The most significant benefit is avoiding professional installation fees, which can range from $100 to $300 or more depending on the provider and complexity.
- Flexibility and Control: You can choose the exact location for your dish and receiver, potentially optimizing for aesthetics or signal strength without being constrained by an installer's schedule or preferred methods.
- Learning Experience: For those interested in technology and home improvement, a DIY satellite installation can be a valuable learning experience.
- Immediate Setup: If you have all the necessary equipment and clear instructions, you might be able to set up your system faster than waiting for a professional appointment.
Drawbacks of DIY Installation
The potential downsides are significant and should be carefully weighed:
- Signal Alignment Difficulty: Achieving the precise alignment needed for optimal signal reception can be extremely challenging without professional tools and experience. Misalignment leads to pixelation, lost channels, and poor performance.
- Equipment Damage: Improper handling or installation can damage the dish, LNB, or cables, leading to costly replacements.
- Safety Risks: Working on roofs or ladders carries inherent risks of falls and serious injury.
- Troubleshooting Headaches: If the system doesn't work, diagnosing the problem can be difficult for a novice. You might spend hours troubleshooting only to find a simple alignment issue or a faulty component.
- Voiding Warranties: In some cases, incorrect DIY installation might void equipment warranties or service agreements.
- Inability to Activate Service: Some providers require a professional technician to activate the service and confirm the installation meets their standards.
Ultimately, the decision hinges on your personal circumstances and risk tolerance. If you're looking for a guaranteed, hassle-free experience, professional installation is usually the way to go. If you're adventurous, technically adept, and budget-conscious, a DIY approach might be feasible.
Essential Tools and Equipment for DIY Satellite Installation
Embarking on a DIY satellite installation requires more than just the satellite kit itself. You'll need a specific set of tools and equipment to ensure the job is done correctly and safely. Having these items readily available before you start will prevent frustrating delays and increase your chances of success.
Here's a comprehensive list of what you'll likely need:
Satellite Dish Kit
This is the core component, usually purchased from your chosen satellite TV provider or a reputable electronics retailer. It typically includes:
- The satellite dish (reflector)
- LNB (Low-Noise Block downconverter)
- Dish arm and mounting bracket
- Fasteners (bolts, nuts, washers)
Signal Meter
This is arguably the most critical tool for a DIY installer. It helps you pinpoint the satellite and achieve the precise alignment needed for a strong signal. There are several types:
- Satellite Finder Meter (Analog/Digital): These are dedicated devices that emit an audible tone or display a meter reading that increases as you get closer to the correct satellite. They are relatively inexpensive and effective for basic installations.
- Smartphone Apps: Many apps use your phone's GPS and compass to help you find the direction and elevation of the satellite. Some can even use the phone's camera to overlay the satellite's position onto your view. While helpful for initial aiming, they often need to be used in conjunction with a physical meter for fine-tuning.
- Professional Signal Meters: These are more advanced and expensive devices used by professionals, offering precise readings. They are generally overkill for a single DIY installation.
Mounting Hardware and Tools
Securely mounting the dish is paramount for its longevity and performance.
- Drill and Drill Bits: For creating pilot holes and driving screws or lag bolts into walls or mounting poles.
- Socket Wrench Set or Adjustable Wrench: To tighten bolts and nuts securely.
- Level: Essential for ensuring the dish mount and dish itself are perfectly vertical and horizontal.
- Stud Finder: If mounting to a wall, a stud finder helps locate solid structural support.
- Caulking Gun and Exterior Sealant: To seal any holes drilled into the exterior of your home to prevent water intrusion.
Hand Tools
These are general-purpose tools that will be indispensable:
- Screwdriver Set: Phillips and flathead screwdrivers for various connections.
- Wire Strippers and Crimpers: For preparing and attaching coaxial cable connectors (F-connectors).
- Pliers: Various types, including needle-nose and lineman's pliers.
- Measuring Tape: For accurate placement and cable length estimation.
- Utility Knife: For cutting cable and packaging.
Safety Equipment
Working at heights or with tools requires prioritizing safety.
- Ladder: A sturdy, appropriate-height ladder. Ensure it's placed on stable ground.
- Work Gloves: To protect your hands from sharp edges and provide a better grip.
- Safety Glasses: To protect your eyes from debris, especially when drilling or working overhead.
- Safety Harness (if working at significant heights): For added security on roofs or elevated platforms.
Miscellaneous
- Coaxial Cable: High-quality RG-6 coaxial cable is standard for satellite installations. Ensure you have enough length to reach from the dish to your receiver, with a little extra for slack.
- F-Connectors: These are the screw-on connectors used at both ends of the coaxial cable. Make sure they are compatible with RG-6 cable.
- Zip Ties or Cable Clips: For neatly securing the coaxial cable along the mounting pole and to your house.
- Compass: To help orient yourself and find the general direction of the satellite.
Having these tools and understanding their use is fundamental to a successful DIY satellite TV installation. Without a reliable signal meter and the ability to securely mount the dish, your efforts are likely to be in vain, leading to frustration and potentially wasted money.
Step-by-Step Guide to DIY Satellite Installation
Installing your own satellite dish requires careful planning and execution. This guide breaks down the process into manageable steps, focusing on accuracy and safety. Remember to consult your specific provider's instructions, as nuances may vary.
Step 1: Site Survey and Planning
Before touching any equipment, assess your installation site.
- Identify Clear Sky View: Locate a spot on your roof, wall, or in your yard that has an unobstructed view of the southern sky (for most satellites in the Northern Hemisphere). Check for trees, buildings, or other structures that could block the signal. Use a compass to determine the general direction of the satellite (your provider will give you the azimuth and elevation angles).
- Choose a Sturdy Mounting Location: The mount must be on a solid, stable structure. A wall stud, a reinforced roof beam, or a dedicated ground mount pole are ideal. Avoid flimsy siding or areas prone to vibration.
- Plan Cable Route: Determine the shortest, most direct path for the coaxial cable from the dish location to your receiver inside the house. Consider how you'll bring the cable indoors (e.g., through a drilled hole, an existing vent, or a window seal).
Step 2: Mount the Dish Support Structure
This is the foundation of your installation.
- Install the Mount: Securely attach the mounting bracket or pole to your chosen location using lag bolts or appropriate fasteners. Use a level to ensure it is perfectly plumb (vertical). If mounting on a wall, use a stud finder to locate studs for maximum stability.
- Seal the Mount: Apply exterior sealant around the base of the mount and over the heads of any bolts to prevent water from entering your home.
Step 3: Assemble and Mount the Dish
Carefully assemble the satellite dish according to the manufacturer's instructions.
- Attach LNB: Mount the LNB onto the dish arm.
- Attach Dish to Mount: Secure the dish assembly to the mounted support structure. Do not fully tighten the bolts yet, as you will need to adjust the dish's position for alignment.
Step 4: Align the Dish
This is the most critical and often the most challenging step.
- Initial Aiming: Using your compass and the azimuth angle provided by your satellite provider, point the dish in the general direction of the satellite.
- Set Elevation: Adjust the dish's tilt (elevation) to the angle specified by your provider. Most mounts have degree markings for this.
- Connect Signal Meter: Connect your satellite finder meter to the LNB or the appropriate test port.
- Fine-Tuning: Slowly and incrementally adjust the dish's position (both azimuth and elevation) while observing the signal meter. Listen for the tone to get louder or watch the meter reading to increase. Move in very small increments (fractions of a degree).
- Lock in Signal: Once you achieve the strongest possible signal, carefully tighten all the dish mounting bolts. Double-check that the signal strength hasn't decreased as you tighten.
Note: Some providers offer a "satellite alignment" feature on their receivers that can assist with this process, displaying signal strength on your TV screen.
Step 5: Run and Connect Coaxial Cable
Connect the dish to your receiver.
- Prepare Cable: Cut the RG-6 coaxial cable to the required length. Strip the ends and attach F-connectors securely.
- Connect to LNB: Screw one end of the coaxial cable to the LNB on the dish.
- Route Cable: Carefully run the cable from the dish to your house, securing it with cable clips or zip ties every few feet to prevent it from flapping in the wind.
- Bring Cable Indoors: Drill a small hole (if necessary) and feed the cable into your home. Seal the hole thoroughly with exterior sealant.
- Connect to Receiver: Connect the other end of the coaxial cable to the "Satellite In" or "LNB In" port on your satellite receiver.
Step 6: Set Up the Receiver and Activate Service
The final stage involves connecting the receiver and activating your service.
- Connect Receiver to TV: Use an HDMI, component, or composite cable to connect the satellite receiver to your television.
- Power On: Turn on your TV and the satellite receiver.
- Follow On-Screen Prompts: Your receiver should guide you through the initial setup process, which may include language selection and network configuration.
- Activate Service: Contact your satellite provider or follow their online activation instructions. This process often involves them sending a signal to your receiver to authorize your service. They may need your receiver's serial number and other account details.
If you've followed these steps diligently and your provider confirms activation, you should now have satellite TV. If you encounter persistent issues, it's time to consider seeking professional help.
Potential Challenges and Pitfalls of DIY Satellite Installation
While the prospect of saving money on installation fees is attractive, DIY satellite TV installation is fraught with potential challenges that can turn a simple project into a frustrating ordeal. Understanding these pitfalls beforehand can help you make a more informed decision about whether to proceed or call a professional.
1. Signal Acquisition and Alignment Issues
This is the most common and significant hurdle for DIY installers. Satellite dishes require incredibly precise aiming—often within a tenth of a degree—to lock onto the signal from a satellite that is thousands of miles away.
- Subtle Obstructions: Even minor obstructions like a tree branch that sways in the wind, new construction nearby, or even heavy rain can interfere with the signal if the dish isn't perfectly aligned.
- Inaccurate Tools: Basic compasses can be affected by magnetic interference from metal structures. Smartphone apps, while helpful for initial direction, may not provide the pinpoint accuracy needed for fine-tuning. Cheap satellite finders can give false readings.
- Environmental Factors: Wind can easily knock a misaligned dish out of position. Ice or snow accumulation on the dish can also degrade or block the signal.
The result of poor alignment is often pixelation, freezing, or a complete loss of channels, especially during inclement weather. Troubleshooting this can involve hours of minute adjustments, often without success.
2. Safety Hazards
Satellite dishes are typically mounted on the exterior of homes, often at significant heights.
- Working at Heights: Ladders can be unstable, and roofs can be slippery or have hidden structural weaknesses. Falls from ladders or roofs can result in serious injuries, including broken bones, head trauma, and even fatalities.
- Electrical Risks: While satellite signals are low voltage, improper handling of cables or working near power lines poses a risk.
- Weather Conditions: Attempting installation during windy, rainy, or icy conditions dramatically increases the risk of accidents.
Professional installers are trained in ladder safety, roof work, and have the appropriate safety equipment, significantly mitigating these risks.
3. Equipment Damage
Satellite equipment can be delicate. Improper handling during assembly or installation can lead to damage.
- Dish Deformation: Bending or warping the dish reflector can permanently impair its ability to capture signals.
- LNB Damage: The LNB is sensitive to impact and moisture. Dropping it or not sealing its connections properly can lead to failure.
- Cable Damage: Kinking, crushing, or improperly stripping coaxial cables can lead to signal loss or complete failure.
Replacing damaged equipment adds to the overall cost and can cause significant delays.
4. Incomplete or Incorrect Installation
Beyond alignment, other aspects of installation can be done incorrectly:
- Insecure Mounting: A dish that isn't securely mounted can shift with wind or weather, leading to signal loss and potentially falling off the house, causing property damage.
- Poor Cable Connections: Loose or improperly crimped F-connectors on coaxial cables are a common source of intermittent signal problems.
- Water Intrusion: Failing to properly seal holes drilled for cable entry can lead to leaks, water damage to walls, and potential mold growth.
5. Activation Issues and Provider Policies
Some satellite TV providers have specific policies regarding DIY installations.
- Mandatory Professional Activation: Certain providers may require a certified technician to activate the service to ensure the installation meets their standards and to prevent signal theft. If you install it yourself, you might be unable to activate your service without paying for a professional to come out and verify it.
- Voided Warranties: In some cases, attempting a DIY installation might void the warranty on the equipment or the service agreement.
- Lack of Support: If you encounter problems after a DIY installation, the provider's customer support might be less inclined to assist, as they often assume professional installation for troubleshooting complex issues.
6. Time and Frustration
What might seem like a straightforward task can consume an entire weekend, or even longer, for a novice. The iterative process of aiming, checking signal, adjusting, and repeating can be incredibly frustrating, especially when dealing with stubborn alignment issues or unexpected problems.
For many, the potential cost savings of a DIY installation are negated by the time invested, the risk of damaging equipment, the safety hazards, and the possibility of needing to hire a professional anyway to fix mistakes or activate service. A professional installation, while costing more upfront, often provides a guaranteed outcome, peace of mind, and avoids these common pitfalls.
Cost Comparison: DIY vs. Professional Installation (2025-26 Data)
When deciding whether to install your own satellite TV, the primary driver for many is cost. Understanding the financial implications of both DIY and professional installation is crucial for making a sound decision. Based on current industry trends and pricing for 2025-26, here's a comparative breakdown.
DIY Installation Costs
The "cost" of a DIY installation is not just about purchasing the equipment; it also factors in the tools required and the potential for unforeseen expenses.
- Satellite Dish Kit: If you are a new customer, the dish and receiver are often included in promotional packages or leased for a nominal monthly fee. If you are purchasing a used system or a specific kit, prices can range from $100 to $300 for a basic setup.
- Coaxial Cable and Connectors: High-quality RG-6 cable and F-connectors typically cost between $20 to $50 for the amount needed for a standard installation.
- Tools:
- Signal Meter: A basic analog or digital satellite finder can cost $20 to $75. More advanced meters can be hundreds of dollars, but are usually unnecessary for a single DIY job.
- Mounting Hardware: Lag bolts, brackets, and sealant might cost $15 to $40.
- General Tools: If you don't already own a drill, socket set, level, etc., these can add $100 to $300+ to your initial investment. However, most homeowners have many of these basic tools already.
- Potential Additional Costs:
- Replacement Parts: If you damage equipment, you'll need to buy replacements.
- Professional Help: If you get stuck and need to call a professional for alignment or activation, you could pay anywhere from $75 to $200+ just for their assistance.
- Time Investment: While not a direct monetary cost, the hours spent troubleshooting can be substantial.
Estimated Total DIY Cost (assuming you own basic tools): $155 - $465
This range is highly variable depending on whether you need to purchase tools and the cost of replacement parts if errors occur.
Professional Installation Costs
Professional installation fees are typically charged by the satellite provider or a third-party installation company. These fees are designed to cover the technician's time, expertise, equipment, insurance, and travel.
- Standard Installation Fee: For new customers, this fee can range from $99 to $199. Many providers offer promotions that waive or significantly reduce this fee, especially with long-term service agreements.
- Complex Installations: If the installation requires extensive wiring, mounting on difficult surfaces (like a multi-story building), or requires specialized equipment (e.g., a ground mount in a yard with difficult terrain), the cost can increase. Some complex installations might incur additional charges of $50 to $150 or more.
- Service Calls/Troubleshooting: If you've already had a professional installation and later experience issues, a service call fee typically applies, ranging from $50 to $100, unless the issue is due to faulty equipment covered under warranty.
Estimated Total Professional Cost (New Customer, Standard Install): $0 (with promotion) - $199
It's important to note that many providers bundle installation into their service packages, making the upfront cost appear lower or even free. Always inquire about current promotions and hidden fees.
Comparison Table (2025-26 Estimates)
Cost Factor DIY Installation Professional Installation Upfront Equipment Cost $100 - $300 (if not included) Often included or leased Tools & Supplies $50 - $400+ (depending on existing tools) Included Installation Fee $0 (your labor) $0 - $199 (often waived with promotions) Risk of Additional Costs High (equipment damage, needing pro help) Low (covered by installer's warranty) Guaranteed Performance Low High Overall Estimated Cost (New Customer) $150 - $700+ $0 - $200 (often less with deals) Conclusion on Cost: For new customers, especially those who can take advantage of promotional offers, professional installation is often more cost-effective and certainly less risky than a DIY approach. The potential savings from DIY are only realized if you have all the necessary tools, are highly competent, and encounter no problems. The risk of incurring higher costs through errors or the need for professional intervention makes DIY a gamble for many.
Alternatives to Satellite TV
While satellite TV has its advantages, particularly in rural areas, it's not the only option for home entertainment. The landscape of television delivery has evolved dramatically, offering a wealth of alternatives that may better suit your needs, budget, and technical capabilities. As of 2025-26, these alternatives provide robust competition.
1. Cable Television
Cable TV remains a dominant force, especially in urban and suburban areas. It delivers channels via coaxial or fiber optic cables buried underground or strung on poles.
- Pros: Wide channel selection, generally reliable service, often bundled with internet and phone services, professional installation is standard and usually included.
- Cons: Availability is limited by infrastructure, can be more expensive than other options, channel packages can be complex.
2. Over-the-Air (OTA) Antennas
OTA antennas allow you to receive free, unencrypted digital broadcast channels from local TV stations. With the digital transition complete, the quality is often HD.
- Pros: Free channels after initial equipment purchase, high-quality HD reception for local networks, no monthly fees, simple setup for indoor antennas.
- Cons: Limited channel selection (primarily local networks), reception quality can be affected by distance from towers and terrain, requires a clear line of sight to broadcast towers.
For those seeking only local news and major network shows, an OTA antenna can be a very cost-effective solution. Combining an OTA antenna with a streaming service can cover most viewing needs.
3. Streaming Services (OTT - Over-The-Top)
Streaming services have revolutionized TV viewing, offering on-demand content and live TV options over the internet.
- On-Demand Services: Netflix, Hulu, Disney+, Amazon Prime Video, Max, Apple TV+, etc. These offer vast libraries of movies, TV shows, and original content.
- Live TV Streaming Services: YouTube TV, Hulu + Live TV, Sling TV, FuboTV, DIRECTV STREAM. These services mimic traditional cable packages, offering live channels, sports, and news for a monthly fee.
- Pros: Incredible flexibility and choice, often more affordable than traditional cable/satellite, accessible on multiple devices (smart TVs, streaming sticks, phones, tablets), no long-term contracts required for most services, easy DIY setup.
- Cons: Requires a stable and fast internet connection, data caps can be an issue for heavy streamers, live TV services can still be expensive, channel lineups may not be as comprehensive as satellite/cable for niche interests.
The ease of DIY setup for streaming services makes them a highly attractive alternative for those comfortable with technology.
4. IPTV (Internet Protocol Television)
While often associated with unofficial or pirated services, legitimate IPTV providers offer TV channels delivered over the internet. This is distinct from the major streaming platforms mentioned above.
- Pros: Can offer a wide range of international channels, potentially lower costs than traditional providers.
- Cons: Legality and reliability can be questionable for unofficial providers, quality can vary significantly, often requires specific apps or devices.
5. Home Theater PC (HTPC)
A HTPC is a computer connected to a TV, allowing users to access various media, including streaming services, local media files, and sometimes OTA broadcasts via a tuner card.
- Pros: Ultimate flexibility and customization, can consolidate all media in one place.
- Cons: Requires significant technical knowledge to set up and maintain, can be expensive to build.
Comparison of Alternatives
Service Type Installation Complexity (DIY) Monthly Cost (Est.) Typical Use Case Satellite TV Difficult (requires precise alignment) $60 - $150+ Rural areas, wide channel selection needed Cable TV Easy (professional install standard) $70 - $200+ Urban/suburban, bundled services desired OTA Antenna Very Easy $0 (after initial purchase) Local channels, budget-conscious Streaming (On-Demand) Very Easy $10 - $70+ (per service) Entertainment, movies, series Streaming (Live TV) Very Easy $50 - $120+ Live sports, news, replacing cable For most users with reliable internet access, streaming services offer the most flexible, cost-effective, and DIY-friendly solution for accessing a vast amount of content, including live TV. Satellite TV remains a niche solution primarily for areas where other options are unavailable or unreliable.
When to Call a Professional Installer
While the allure of DIY installation is strong, there are specific circumstances where engaging a professional installer is not just recommended, but essential for a successful and safe outcome. As of 2025-26, these situations remain consistent:
1. Lack of Technical Proficiency or Comfort
If you don't have a solid understanding of basic electronics, wiring, or how to use specialized tools like a signal meter, attempting a satellite installation can be an exercise in futility. Similarly, if you're not comfortable with troubleshooting complex technical issues, a professional can save you immense frustration.
2. Safety Concerns and Working at Heights
This is perhaps the most critical reason to hire a professional. If you are uncomfortable, unable, or simply unwilling to safely work on ladders, roofs, or at significant heights, do not attempt a DIY installation. Professional installers are trained in safety protocols and have the necessary equipment (like harnesses and specialized ladders) to perform installations safely. The risk of serious injury or even death is not worth the potential savings.
3. No Clear Line of Sight for the Dish
Satellite dishes require a completely unobstructed view of the sky in the direction of the satellite. If your property has numerous trees, tall buildings, or other obstructions that block this line of sight, a professional installer has the expertise to:
- Identify the best possible (even if suboptimal) location.
- Determine if a taller mast or a different mounting solution (like a ground mount) can overcome the obstruction.
- Advise if installation is even feasible given the obstructions.
A DIYer might waste hours trying to find a signal that simply doesn't exist due to unseen obstructions.
4. Provider Mandates or Recommendations
As mentioned earlier, some satellite TV providers, particularly for new customer activations or premium service packages, mandate professional installation. Attempting a DIY installation in these cases might result in:
- Inability to activate your service.
- Voiding equipment warranties.
- Being required to pay for a professional to come out and fix or complete the installation anyway.
Always check your provider's policy before proceeding with a DIY attempt.
5. Complex Installation Requirements
Some installations are inherently more complex than others. This can include:
- Multi-dwelling units (apartments, condos): These often have specific rules and shared mounting locations.
- Difficult mounting surfaces: Historic homes, buildings with specific siding, or locations requiring specialized brackets.
- Long cable runs: If the receiver is very far from the dish location, signal degradation can become an issue that professionals are better equipped to handle.
- Multiple receivers: Setting up a multi-room system often requires more advanced wiring and configuration.
6. Time Constraints
If you have a limited timeframe to get your TV service up and running, and you cannot dedicate an entire weekend (or potentially more) to the installation process, hiring a professional is the logical choice. They can typically complete a standard installation in a few hours.
7. Desire for Guaranteed Performance and Warranty
Professional installers are trained to achieve optimal signal strength and ensure all connections are secure. They typically offer a warranty on their workmanship, meaning if something goes wrong with the installation shortly after they leave, they will come back and fix it at no additional charge. This peace of mind is often worth the upfront cost.
In summary, while DIY satellite installation is technically possible, it's a task best suited for individuals with significant technical skills, appropriate tools, a comfort with heights, and a clear understanding of the risks involved. For the majority of users, especially those seeking reliability, safety, and a hassle-free experience, calling a professional installer is the prudent choice.
Conclusion: Making the Right Choice for Your Home
The question, "Can I install my own satellite for TV?" is met with a qualified "yes." However, as this comprehensive guide has detailed, the ability to perform a task does not always equate to it being the best course of action. For many, the complexities of precise satellite alignment, safety concerns associated with working at heights, and the potential for costly errors make professional installation the more sensible and often more economical choice.
We've explored the essential tools, the step-by-step process, and the significant challenges that DIY installers often face. The cost comparison for 2025-26 clearly indicates that while DIY might seem cheaper on the surface, the risk of unforeseen expenses and the value of guaranteed performance heavily favor professional services, especially when factoring in promotional offers from providers. Furthermore, the availability of user-friendly alternatives like streaming services and OTA antennas means that satellite TV is no longer the only viable option, particularly for those with reliable internet access.
Ultimately, the decision rests on your individual circumstances. If you possess exceptional technical skills, are comfortable and safe working at heights, have all the necessary specialized tools, and are prepared for potential troubleshooting, a DIY installation could be a rewarding endeavor. However, for the vast majority of homeowners seeking reliable entertainment without the stress and risk, entrusting the installation to a trained professional is the wisest path. Prioritize safety, consider the long-term value, and choose the installation method that best aligns with your comfort level and desired outcome for your home entertainment system.