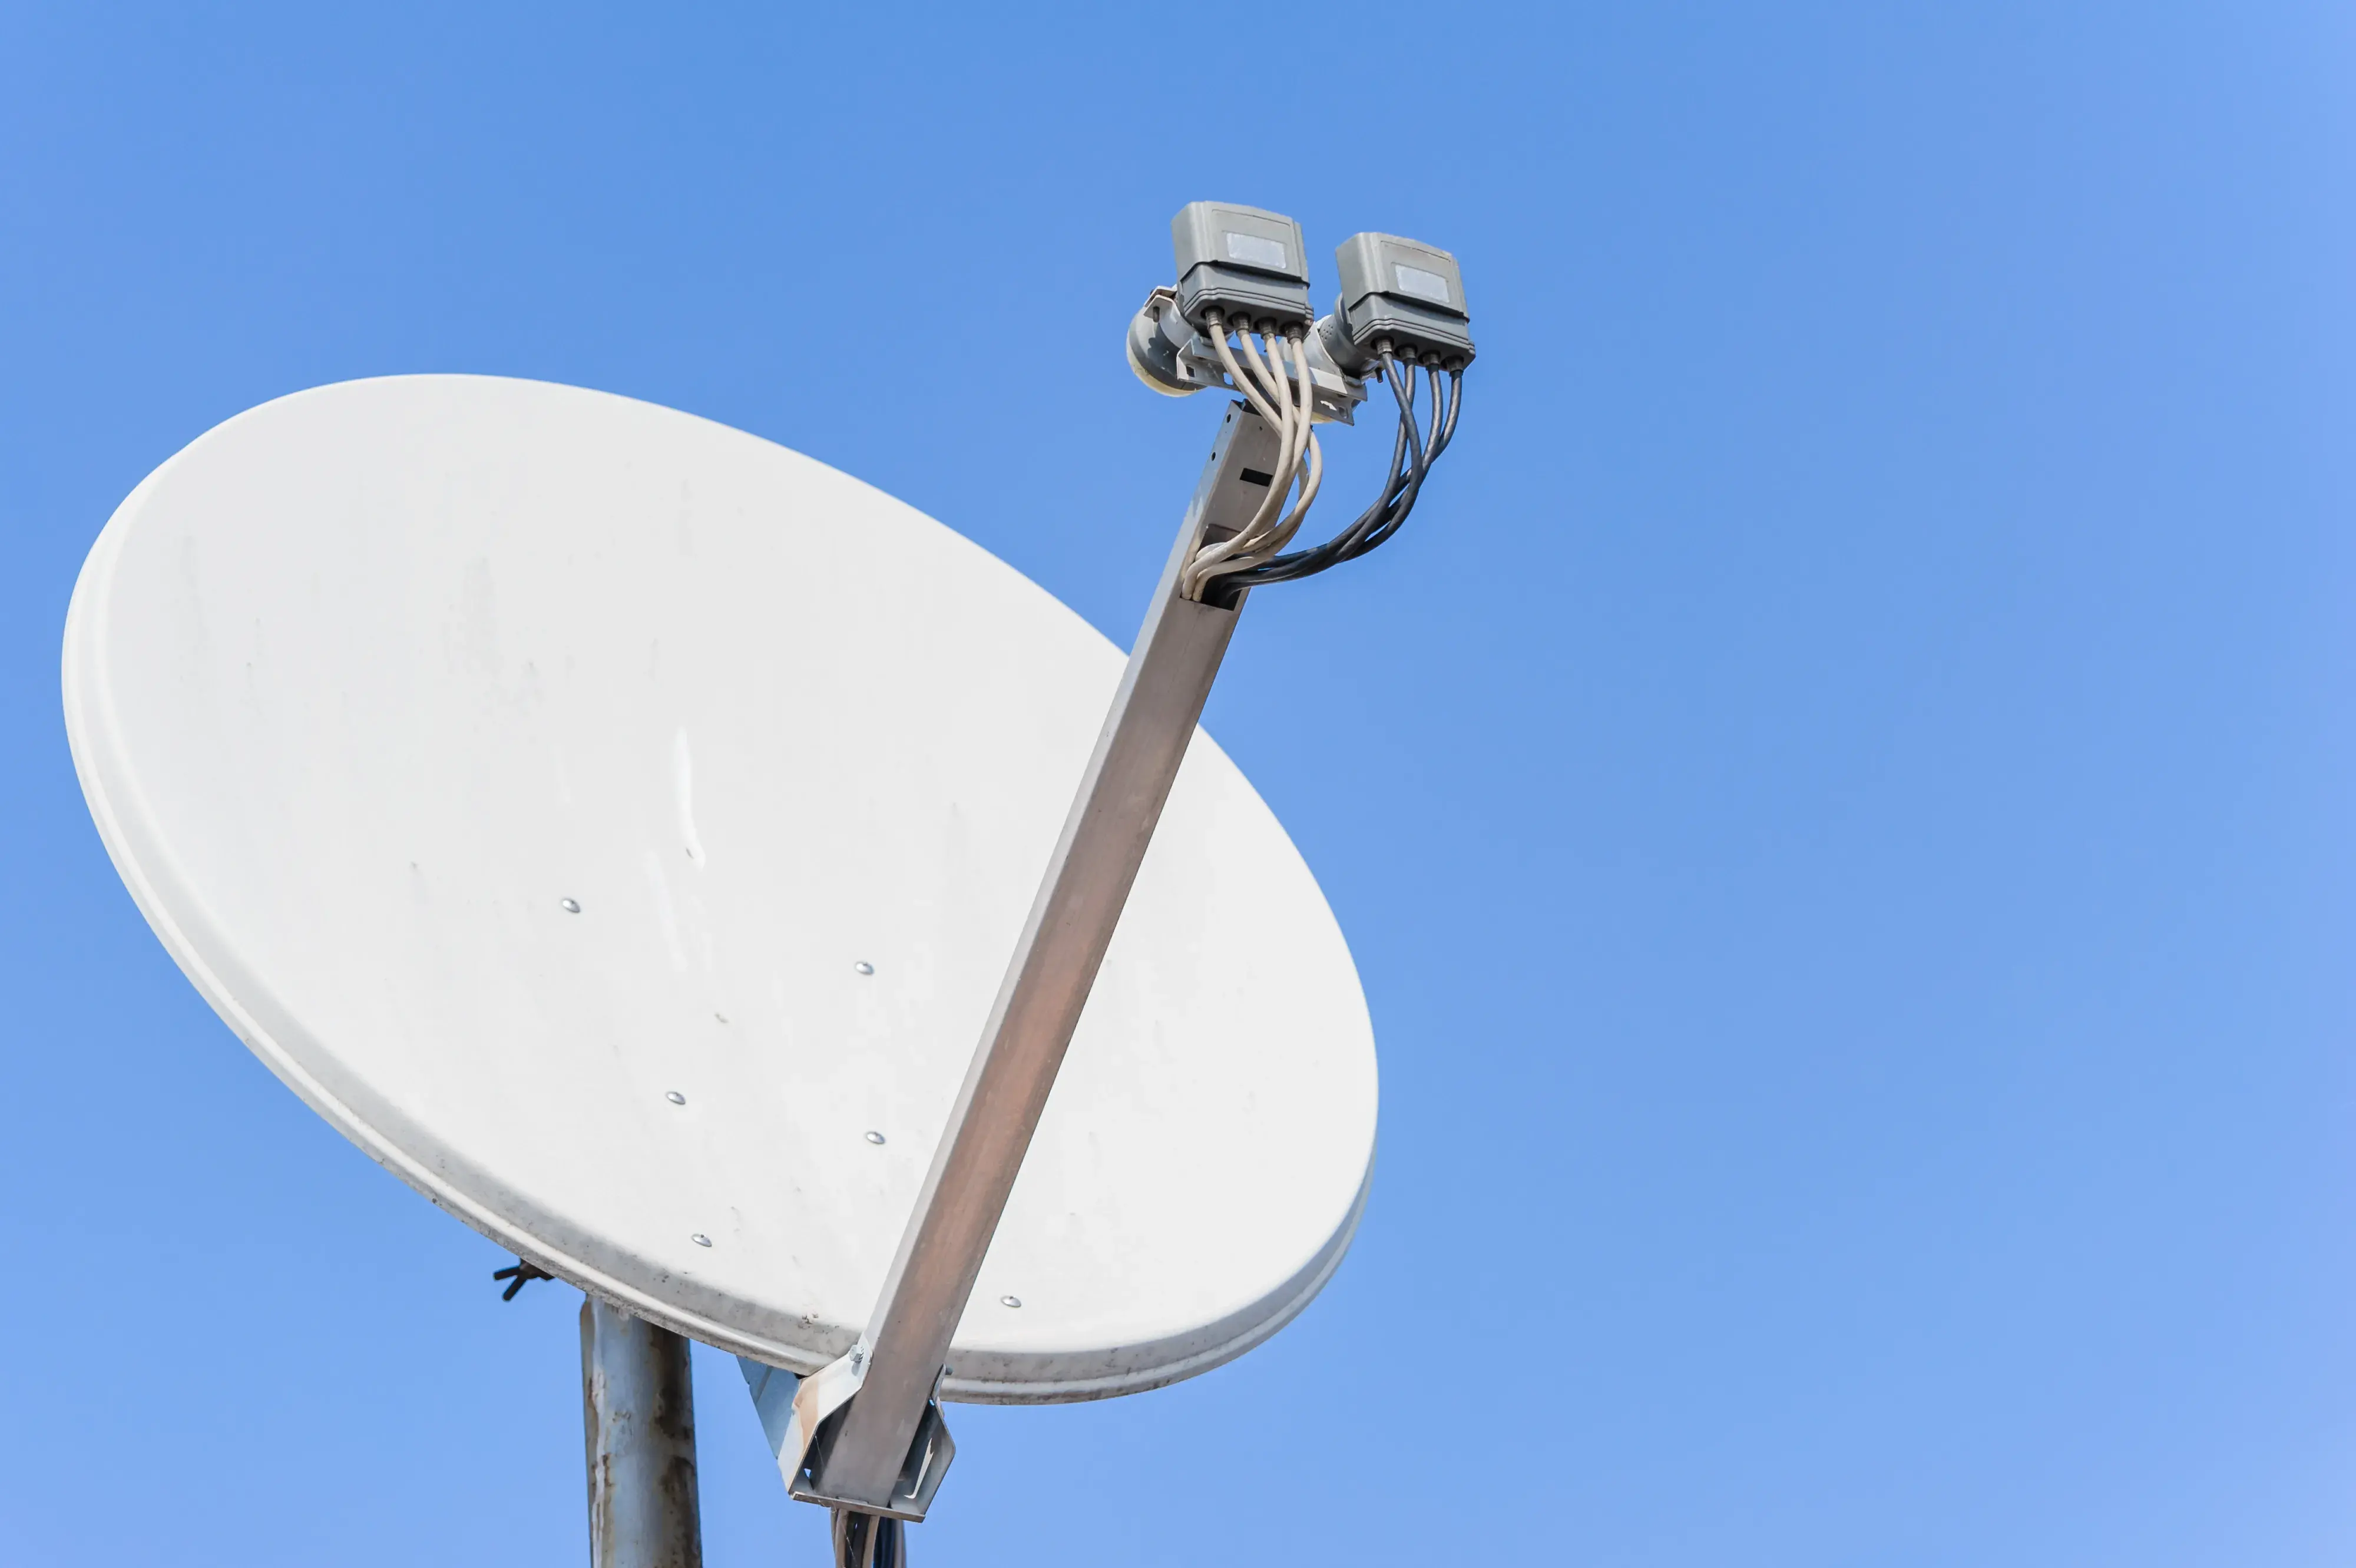
While it may seem like a chore to install a Dish Network satellite dish, having some understanding of satellite signals and the equipment that Dish provides will help you get your satellite dish up and running. Here is a guide that will lead you on how to correctly aim your Dish Network Dish:
Choose An Installation Location
The first step towards directing your Dish Network dish includes selecting a proper location for setting up the dish. Consider the following factors:
- Satellite View - You will require an open and uninterrupted view of the southern sky where the satellites of Dish are located. It can be interrupted by tall trees buildings and hills and other obstacles that may be on the way.
- Stable Mounting Surface – The dish should be mounted on a firm surface such as the exterior house wall or a strong pole. Do not use loose fencing or siding like in the example below:
- Convenience - Choose a location where the possibility of accessing the dish for any adjustment or service will be convenient. It is similar to going on the roof as if it affords the best view yet makes it difficult to make adjustments.
- Cable Length - The standard of most coaxial cables is approximately 100 feet. Ensure that the position of the dish is such that it does not need long cables to the receiver to minimize cable length.
Assemble The Dish
Before firing the dish, you should position it properly on the dish depending on the manufacturer’s recommendations. Dish Network dishes are made up of three components, namely the antenna reflector, the mounting bracket or arm, and the LNBF (Low Noise Block Feedhorn). This part involves fixing the reflector on the arm and then placing the arm on the bracket. Then fix the LNBF and feedhorn assembly at the end of the arm and fasten all the joints properly.
Connect The Receiver
Cable a coaxial from the LNBF on the dish arm to the satellite receiver indoors within the house. The recommended cable type for optimum performance is the RG-6 grade quad-shielded coax cable. Connect one end to the LNBF port that is labeled “Satellite In” and then connect the other end to the “Satellite In” port at the back of the receiver. This makes a continuous path of the signal from the dish to the receiver.
Find The Azimuth Bearing
The azimuth bearing is the compass heading you have to align the dish to the specific direction that is required. To find the azimuth, head to Dish’s online Signal Finder tool and input your zip code. This provides the precise magnetic compass bearing toward the satellite (for example 156° southeast).
The tools required to complete this task are A Compass & An Inclinometer
If you have the azimuth bearing for your location, then all you need to do is use an accurate compass and inclinometer to properly orient and elevate the dish. Put the inclinometer on the face of the reflector to measure the elevation angle which for most regular areas will be slightly more than 40°. Then, using the compass, point the dish toward the azimuth magnetic bearing of your closest satellite. It is crucial to be precise in both dimensions to receive a signal.
Fine-Tune The Signal
At this point, your dish should be oriented more or less in the direction of the satellite in question. To do this for the best signal, there is a need to look at the signal level on the receiver while making adjustments to the dish. This can be done by having one person monitor the receiver display while the other gently shifts the dish alignment. The idea is to achieve the highest signal strength percentage on the receiver info screen.
Look For "Satellite Acquired"
It is when a “Satellite Acquired” message appears on the receiver and a solid bar signal lock is indicated that it can be ascertained that the dishes are optimally aligned. This means that your Dish is correctly aligned on the satellite and is set to start being programmed. To access programs and enable your subscription package go to the receiver setup menu and scan for the available programs.
Check For Obstructions
An obstruction, which can partially or fully block the reception of the satellite signal, is also possible even after initial acquisition. Dish signal can be interrupted by many things including trees swaying in the wind, new constructions, and even accumulation of snow. In case you observe the occurrence of picture freezing or lost signals during a particular condition, try the alignment of the dish by following the above guidelines or consult your Dish Network technician. This is something that has to be done properly with a clear line of sight to ensure the signal for satellite TV.
Using this guide, you will be able to install and optimize your Dish Network satellite dish independently of a professional technician. Although, aligning the dish is a little tricky and may require several trials, with the right tools and patience the results are guaranteed. It simply has to be clean, not warped or deformed in any way and the cables are firmly connected and all connectors are properly connected. Patience and time are also requirements when it comes to this DIY dish project, as it should take a good amount of it to get done. However, with the right heading and the right elevation along with fine-tuning, it is possible to cut costs and get the best signal by knowing how to point your dish.
Ready to upgrade your TV experience? Call us now at (877) 471-4808 to find the perfect Dish Network plan for you! Don’t miss out on great entertainment—our team is here to help you choose the best package and get you started today.


