It becomes very frustrating when you are using a Dish Network remote but this remote is not programmed to your receiver. In other instances, there is a problem with how the remote is synchronizing such that you cannot change the channel, access menus, control volume, etc. Fortunately, setting or synchronizing your Dish remote to compact with your satellite receiver is a process that does not take a lot of time. Here is a step-by-step guide to programming a Dish Network remote to your receiver:
1. Turn On The Receiver
The first step is to ensure that your Dish Network receiver is turned on. If the receiver is off, you will not be able to sync up the Dish remote. Get your first remote accompanying your Dish receiver and power on the gadget if it is not on yet.
Upon switching on the receiver, there may be a message on the screen that asks you to program or “pair” your Dish remote. In case you do not see this message click on the next steps which will trigger the programming sequence.
2. Find The Remote Address Button
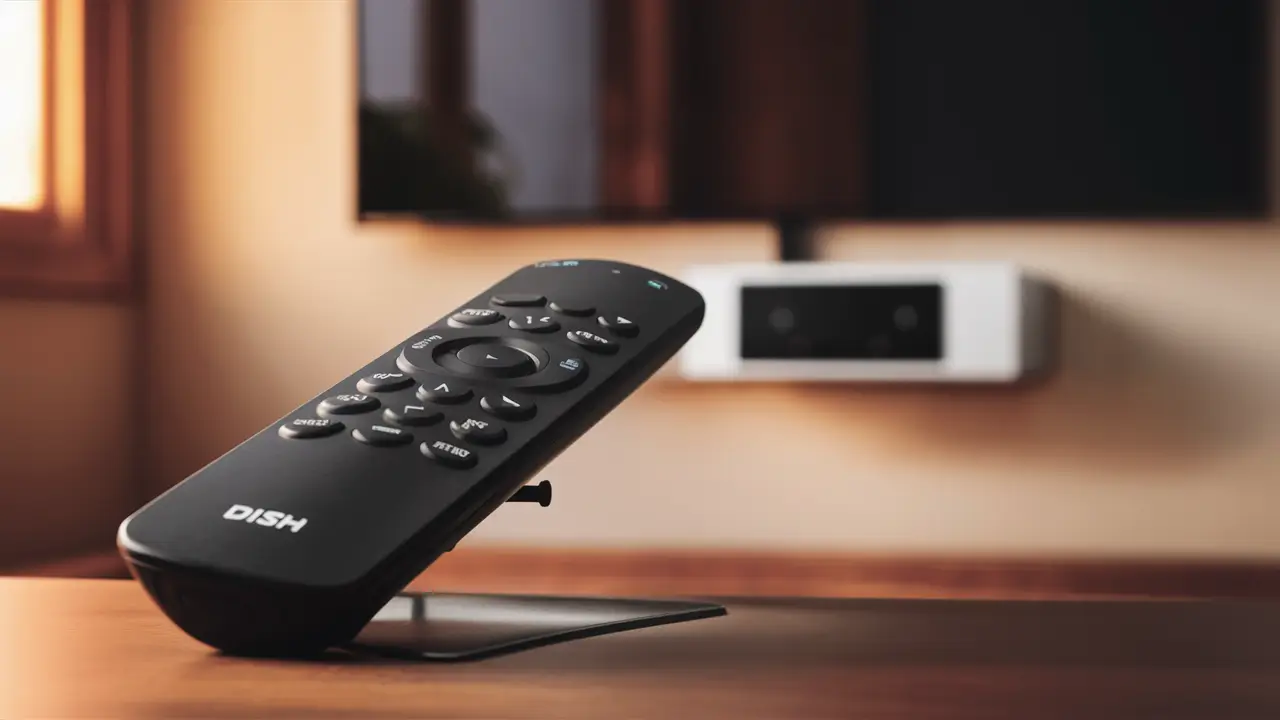
Every Dish Network remote has a button that is marked with the Dish Network logo and a picture of the dish somewhere on the remote. This is the remote address button. Finally, it is important to find this significant button for the programming action.
Usually, the remote address button is located on the upper part of the remote, between the power and menu buttons. It may also be located under the flip-out cover near the top which when closed, conceals some short-cut buttons. The exact location of it may vary depending on the model of the Dish remote you are using but it should not be too hard to find.
3. Press the power button and the remote address button.
Once your receiver is on and operational, ensure that you are directly facing your Dish remote towards your receiver. The next step is to press the two buttons at the same time: the power button located at the top of the remote and the remote address button.
You will need to press these two buttons simultaneously for at least three to five seconds at most to start the programming sequence between the remote and the receiver.
After around 3-5 seconds of pressing a button on the remote control, you will see a message on the TV screen saying something like “Remote Control Found,” which suggests communication between the remote and the receiver.
4. Discharge Buttons When Message Is Displayed
You will know the Dish remote has paired with your TV in the event the TV screen shows a “Remote Control Found” pairing confirmation message; you can then release the power and remote address buttons on the Dish remote. This makes it the final step of synchronizing.
After that, you should be able to have full control using that particular remote for your Dish Network receiver. Confirm that the volume buttons, channel controls, and keypad buttons are responsive with a test run.
5. Repeat Process If Unsuccessful
In some instances when using the steps to hold the power and remote address buttons, the Dish remote does not correctly sync on the first attempt. This could mean no on-screen message, lack of remote control, or the message “Remote Control Failure".
If your first try does not work, do not worry. The easiest approach is therefore to go back to the initial steps of programming all over again. Move the remote address button to your specific Dish remote, press the remote address button and the power button at the same time for 5+ seconds facing your receiver until your successful confirmation appears on the screen, then release. This usually works to align all the settings on the second attempt.
6. Advanced Programming Tips
The simple process described above is perfect well for the bulk of people who want to sync the new or replacement Dish remote to their Dish receiver. However, for those needing some additional programming help, keep these tips in mind:
7. Change The Address Code
Contrary to this, Dish remotes and satellite receivers by default use address code 1. This means that they use signal code 1 for communication. If there are control issues, then you can always switch the address code on the remote to code 2 or code 3 and program again with your receiver. New code offers an opportunity for a new communication pathway.
8. Reset The Receiver
This is especially important when the Dish remote has failed to function properly; resetting the Dish receiver will reconfigure your system. After resetting the receiver try the power + remote address button and hold on the remote again for the pairing. Just make a note that a reset will delete all the stored configurations, favorites, recordings, and so on from the receiver as well.
9. Contact Dish Support
Despite several tries in programming between the remote control and the receiver, certain scenarios need additional debugging. It is in this context that factors such as compatibility between old remote signals and new receivers, low batteries, faulty physical buttons, and interference may come into play. If you have no luck on your own, dialing Dish’s technical support number is the next best step in ensuring that your new or old remote gets programmed properly and you can effectively control your device.
Having to use a Dish remote that is not programmed to a particular channel is quite boring when one wants to explore all the options provided by the satellite service. Fortunately, it isn’t a Herculean task to ensure that Dish remotes and receivers are synchronized as long as you know which buttons to press. Be patient, find the correct remote address button, and continue performing the sequence until the command is successfully sent. When you keep the aim of your remote at the receiver, you are sure to get a message that says “Remote Control Found” very soon.
Ready to upgrade your TV experience? Call us now at (877) 471-4808 to find the perfect Dish Network plan for you! Don’t miss out on great entertainment—our team is here to help you choose the best package and get you started today.
