-
Posted on: 30 Sep 2023
-
With the fast-paced environment of today, a consistent internet connection is more important than ever. A reliable and fast internet connection is very essential whether you work from home, stream your preferred movies, or keep in touch with loved ones. Renowned supplier of satellite internet services, Viasat's Wi-Fi modem is a preferred option for many consumers. The good news is you may save time and money by self-installing the Viasat Wi-Fi modem. We will lead you methodically through the procedure in this all-inclusive guide.
Understanding the Viasat Wi-Fi Modem
Let's first learn what the Viasat Wi-Fi modem is and why people find it to be a popular option before we get into the installation procedure.
Combining a modem with a Wi-Fi router in one, the adaptable Viasat Wi-Fi modem is It offers a quick and dependable connection and is meant to go effortlessly with Viasat's satellite internet service. The Viasat Wi-Fi modem offers these main advantages and features:
- Built-in Wi-Fi router for wireless connection all over your house;
- fast internet access via satellite technology
- Several Ethernet ports for connected wire devices.
- User-friendly interface for simple maintenance and troubleshooting;
- secure network settings and sophisticated customizing tools.
Let's go on to the installation procedure now that you know the Viasat Wi-Fi modem is simple.
What You'll Need
Arranging all the required tools and data is crucial before starting the self-installation procedure. You will need the following:
- Viasat Wi-Fi Modern: This is the main gadget you will be installing; it ought to arrive with all the necessary wires and attachments.
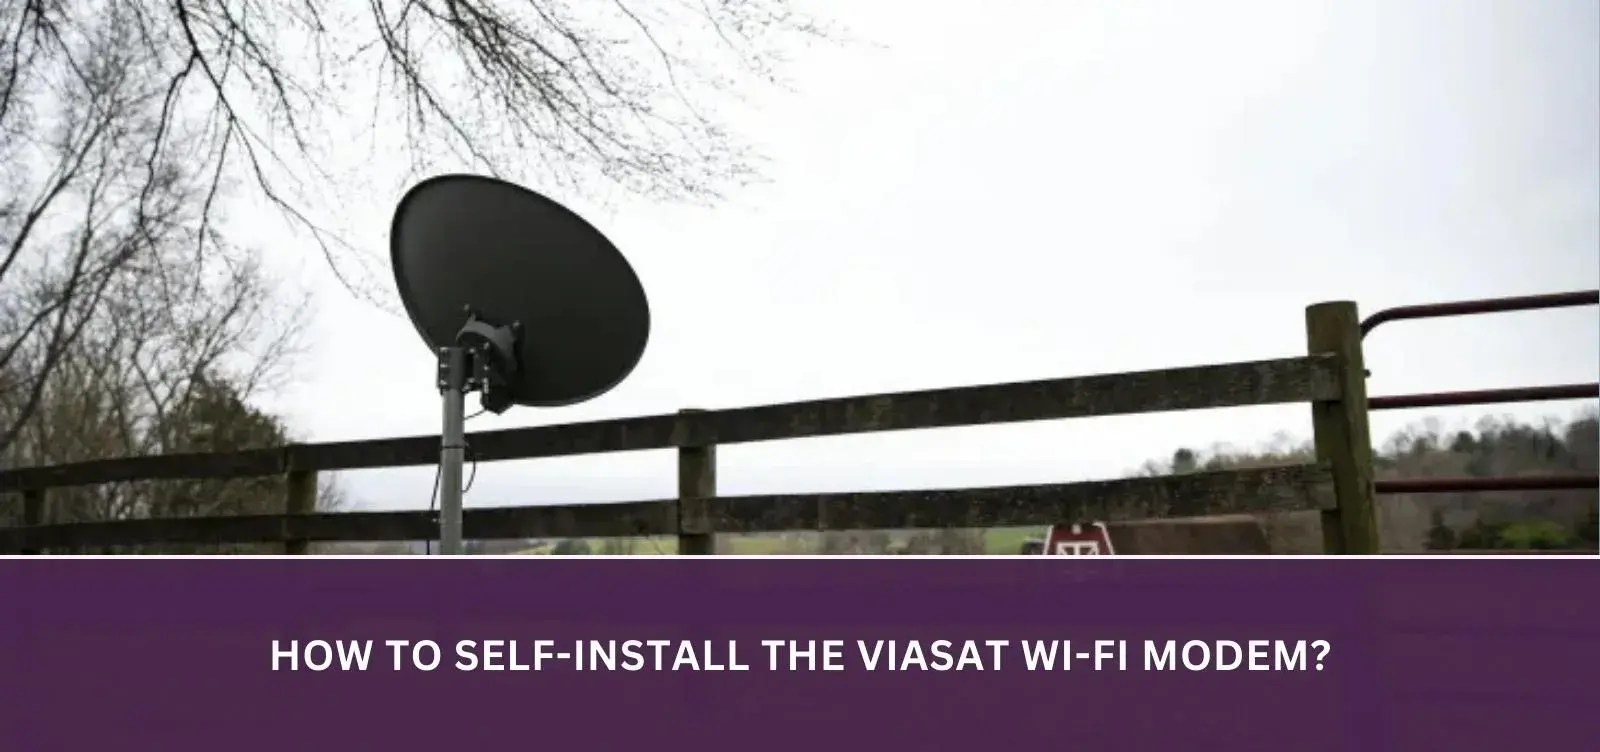
- Check that your satellite dish is correctly positioned and aligned. Use the manufacturer's directions if you are assembling a new dish.
- You will need access to a power outlet to plug in the modem.
- Activating your subscription and setting your Wi-Fi network depends on a computer or mobile device with an internet connection.
- Have your Viasat account number and any pertinent account information available.
- Should Viasat provide an installation kit, it may include extra tools needed for setup. See the contents of the kit to be sure you have everything you need.
Having everything ready now, let's now go over the detailed self-installation tutorial.
Step-by-Step Self-Installation Guide
1. Unboxing the Modem
- Unbox the Viasat Wi-Fi modem first and carefully review its contents. Verify you have the modem itself, power adapter, Ethernet cables, and any other equipment supplied.
- Set the modem in your house's central location—probably near the satellite dish. This guarantees the best performance and a strong signal.
2. Connecting the Modem
- Connect one end of the given Ethernet cable back of the modem to the LAN port.
- Connect the Ethernet cable's opposite end to the Ethernet port on your computer. You may skip this step if you use a mobile device.
- If you have an installation kit, follow the instructions to attach any extra equipment as specified.
3. Powering Up
- First, plug the power adapter into the modem and then into a power socket. The modem will start to run, maybe taking a few minutes.
- Once the lights of the modem are steady, you should be able to connect to the satellite. This is an encouraging indication that your system is developing well.
4. Activating Your Service
- Launch a web browser on your smartphone or PC.
- You need to be sent to the Viasat Activation page. If not, you may manually visit "activate.viasat.com."
- Activate your service according to on-screen directions. You will be asked to input details of your Viasat account.
- Your modem will connect to the satellite and the internet upon effective activation of your service.
5. Configuring Your Wi-Fi Network
- Once your service is turned on, you may set up your Wi-Fi network to make use of wireless connections anywhere throughout your house.
- Access the modem's web interface on your computer or cell phone. Usually, this is accomplished by typing "192.168.101" into the address bar of your web browser.
- Login using the default username and password included in the modem's documentation. Changing these credentials subsequently is a healthy habit driven by security concerns.
- Set up your Wi-Fi network name (SSID) and password inside the modem's interface. Additionally, as necessary, you may change security settings and personalize your network.
Congratulations; you are ready to enjoy a fast internet connection after effectively self-installing the Viasat Wi-Fi modem.
FAQs About Self-Installing the Viasat Wi-Fi Modem
Q1: Is self-installation difficult, or should I opt for professional installation?
A1: Self-installation of the Viasat Wi-Fi modem is designed to be user-friendly and straightforward. However, if you encounter any issues or are uncomfortable with the process, Viasat does offer professional installation services for an additional fee.
Q2: Can I use my own Wi-Fi router with the Viasat modem?
A2: While the Viasat Wi-Fi modem comes with a built-in Wi-Fi router, you can use your router if you prefer. You'll need to disable the built-in Wi-Fi and connect your router to one of the modem's Ethernet ports.
Q3: What should I do if I experience connectivity issues after self-installation?
A3: If you experience connectivity issues, first check that your satellite dish is properly aligned. You can also contact Viasat's customer support for troubleshooting assistance.
Q4: How can I change my Wi-Fi network's SSID and password?
A4: To change your Wi-Fi network's SSID and password, log in to the modem's web interface (usually at "192.168.100.1") using the admin credentials. Navigate to the Wi-Fi settings, where you can make the desired changes.
Q5: Can I connect multiple devices to my Viasat Wi-Fi network?
A5: Yes, you can connect multiple devices to your Viasat Wi-Fi network, depending on your plan's bandwidth capacity. The modem supports both wired and wireless connections.
Conclusion
Setting up your internet service conveniently and affordably is self-installing the Viasat Wi-Fi modem. This blog article offers a detailed step-by-step tutorial that will enable you to boldly unbox, connect, and set up your modem thereby guaranteeing a flawless internet experience in your house.
To guarantee a successful installation, remember to compile all the required tools and carefully follow the instructions. Viasat's customer service is easily ready to help you should you run into any problems or have queries along the road.
Using your Viasat Wi-Fi modem will help you to enjoy a wireless connection and fast internet access. Nowadays, a consistent internet connection is there at your hands whether your job, streaming, or you're keeping in touch with friends and relatives.
How to self-install the Viasat Wi-Fi Modem?
Research, Compare & Choose With Confidence
Last updated: June 25, 2026